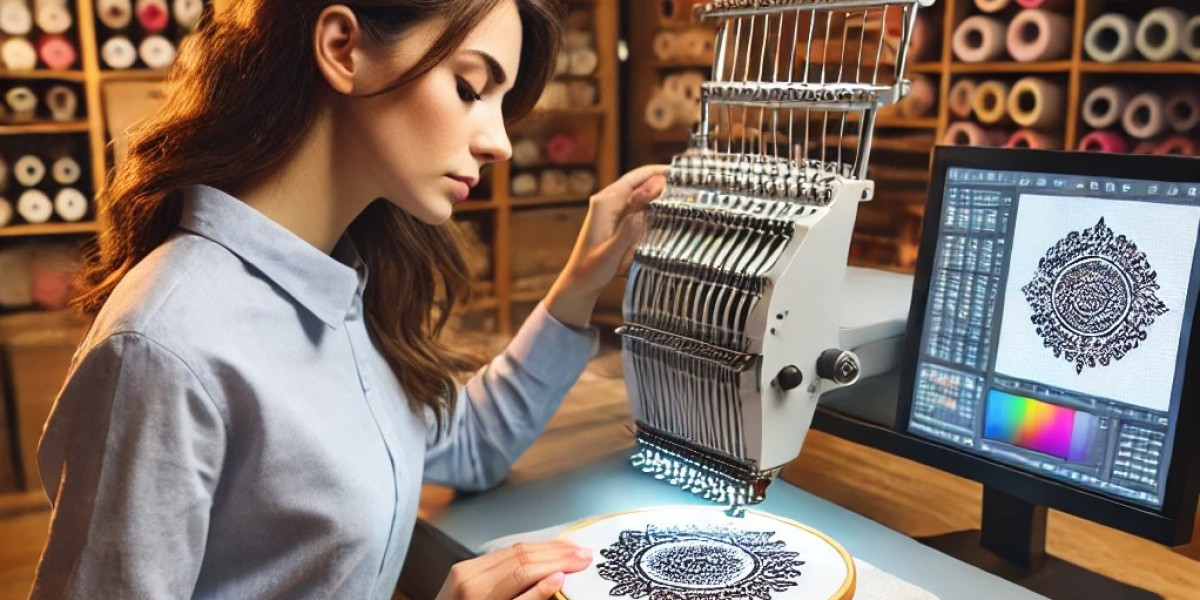
You've got that perfect image—maybe it's your company logo, a beloved pet's photo, or custom artwork—and you can already picture it stitched out on a cap or tote bag. But here's the frustrating reality: your embroidery machine doesn't speak JPG. That digital image might as well be hieroglyphics to your Brother or Babylock machine waiting for its PES file instructions.
Convert JPG to PES embroidery file isn't just about changing file extensions—it's about translating flat pixels into a three-dimensional thread language that accounts for fabric behavior, stitch physics, and machine capabilities. Get it wrong, and you'll end up with a pixelated mess that embroiders like a bad photocopy. Get it right, and you unlock the ability to turn any image into professional-quality embroidery.
Why Simple Conversions Fail
The rookie mistake? Assuming you can just drag a JPG into embroidery software and hit "convert." Unlike vector files (like SVG or AI), JPGs don't contain clean lines or defined edges—they're made of pixels that blur when enlarged. Without intervention, that crisp logo becomes a fuzzy blob when stitched.
Here's what actually happens during proper conversion:
- Edge Detection - Software or a digitizer identifies where stitches should start and stop
- Color Reduction - Your millions of colors get simplified to available thread shades
- Stitch Mapping - The program decides stitch types (satin for edges, fill for areas)
- Density Calibration - Adjusts stitch spacing for fabric type
- Underlay Creation - Adds hidden foundation stitches for stability
Skip these steps, and you'll face the dreaded "embroidery fails"—puckering, thread breaks, or designs that look nothing like your original.
Your Conversion Toolkit: Software Options
Best for simple shapes and text
- My Editor Online (Free browser-based tool by Janome)
- Embird Auto-Digitizing (Basic conversion with manual tweaks)
- SewArt ($50, user-friendly for hobbyists)
Pros: Fast, no technical skills needed
Cons: Limited control, struggles with complex images
For Intermediate Users: Semi-Manual Software
Best for logos with some detail
- Hatch Embroidery (Auto-tracing with manual refinement)
- Embrilliance Essentials (Good for Mac users)
- Brother PE-Design (Machine-specific optimization)
Pros: Better results than auto-converters
Cons: Steeper learning curve
For Professionals: Full Digitizing Suites
Best for photographs and intricate designs
- Wilcom EmbroideryStudio (Industry standard)
- Pulse IDS (Advanced photo-to-stitch tools)
- Floriani Total Control (Precision editing)
Pros: Studio-quality results
Cons: Expensive ($1,000+), requires training
The Step-by-Step Conversion Process
Let's walk through converting a simple logo JPG to PES using mid-range software (the process applies to most programs):
Clean Your Image
o Open in Photoshop/GIMP
o Increase contrast between elements
o Simplify to 6-8 colors max
Import to Embroidery Software
o Use "Trace" or "Auto-Digitize" function
o Set expected output size (critical!)
Manual Adjustments
o Redraw wobbly lines with the pen tool
o Assign stitch types to each element
o Set underlay for problem areas
Fabric Presets
o Select material type (auto-adjusts density)
o Enable pull compensation (extra 10-15%)
Test and Refine
o Run software simulation
o Stitch out on scrap fabric
o Adjust problem areas
Pro Tips They Don't Tell You
After converting hundreds of images, here's what the manuals leave out:
- The Magic Number - Never convert designs smaller than 2" tall—details disappear
- Background Trick - Add a temporary colored background layer to spot gaps
- Stitch Economy - Adjust sequence to minimize thread changes (saves hours on big jobs)
- The Zoom Test - If it looks pixelated at 400% zoom, it'll stitch poorly
- Thread Budgeting - Complex designs can use 3x more thread than estimated
When to Call in the Pros
Some images fight conversion every step of the way:
- Photographs - Requires expert manual digitizing
- Watercolor Effects - Nearly impossible to stitch accurately
- Micro-Text - Under 0.2" tall letters need specialized techniques
For these, services like The Digitizing Boutique or Absolute Digitizing deliver better results than DIY for about $15-$50 per design.
The Future of Conversion
Emerging AI tools are changing the game:
- Smart Auto-Tracing - Identifies optimal stitch paths automatically
- Fabric-Aware Algorithms - Auto-adjusts for material type
- Instant Previews - AR showing how designs will look on actual garments
But even with tech advances, human touch still matters for perfect conversions.
Stitching Your First Success
Now that you understand what's really involved in JPG-to-PES conversion, you can approach your projects with realistic expectations. Start with simple, high-contrast images and gradually tackle more complex designs as you learn your software's quirks.
Remember: Every failed conversion teaches you something. That botched stitch-out isn't wasted thread—it's tuition in the school of embroidery. Before long, you'll be looking at any image and instinctively knowing how to guide it from screen to stitch with PES perfection.
The digital world is full of images waiting to become physical art. Your embroidery machine is the bridge—now you know how to build it.
